Question
My Webscan device isn't working and I want to factory reset it, how can I do so?
Answer
To reset a Webscan device back to factory defaults follow the steps below. You will need admin rights in order to perform these steps:
- Right-click the desktop icon used to open the TruCheck application and choose Copy. Then right click the Windows desktop and choose Paste to create a copy of the shortcut.
- Right-click the copied shortcut and go to Properties.
Go to the end of the Target text box and add a space, then type "ffs". It should look like below:
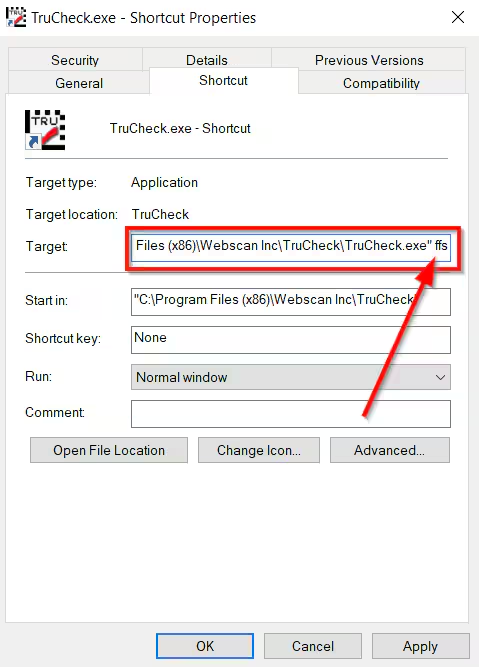
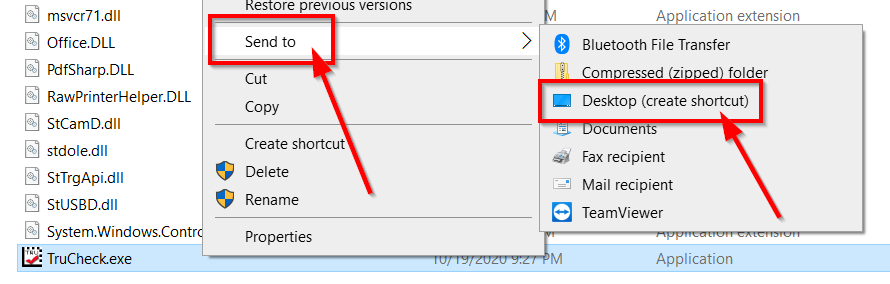
Note: If the Target is grayed out and you cannot edit the line navigate to the EXE file - C:\Program Files (x86)\Webscan Inc\TruCheck\TruCheck.exe - right click TruCheck.exe and choose Send to - then Desktop (create a shortcut). Use the shortcut created on the desktop to add ffs.
- Click OK
- Run the program using this copied shortcut.
- Once TruCheck has opened immediately close out of the program.
- Delete the copied shortcut from desktop and start the program again with the original shortcut.
- Now the Webscan device has been reset back to factory defaults. This will reset the user password as well.