Cognex Support Hub
Set Up Custom Views in the In-Sight Vision Suite
Setting Up Custom Views in the In-Sight Vision Suite
04/02/2025
Setting Up Custom Views in the In-Sight Vision Suite
How can I set up custom views similar to the custom views in In-Sight Explorer?
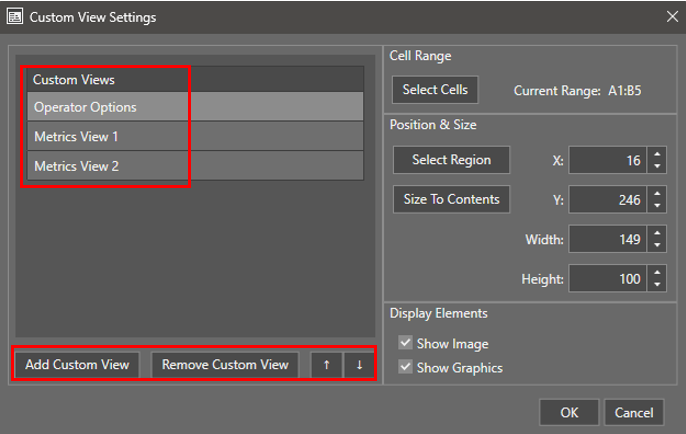
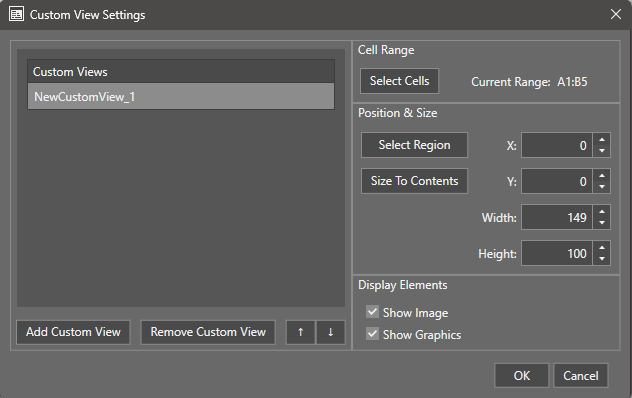
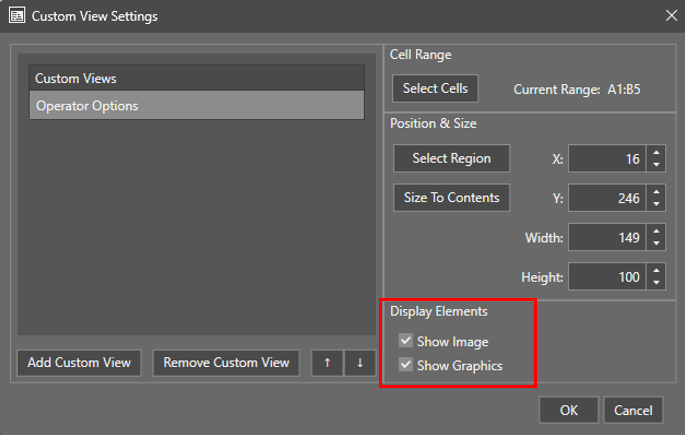
To set up custom views in the In-Sight Vision Suite, go to the Senor menu and select Custom View Settings.

You will see the following:
Unlike the custom views in In-Sight Explorer, In-Sight Vision Suite allows for custom views to be located anywhere in the spreadsheet.
To add a new view, click Add Custom View.

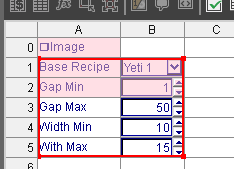
From here, you will be prompted to select the set of continuous cells. You can click and drag for your selection. Once selected, press Enter on your keyboard.
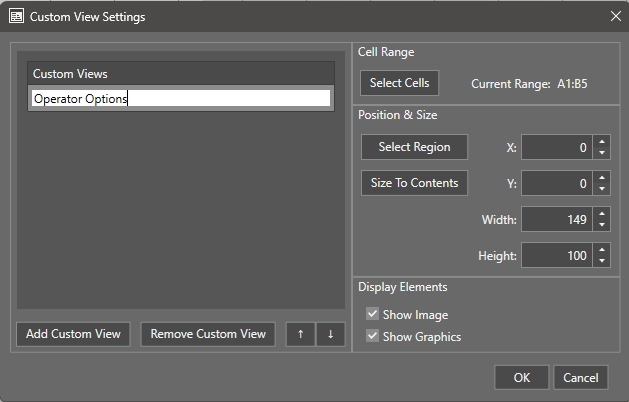
Once you’ve entered your view, you can rename it something meaningful by selecting the view and double-clicking it to rename.
You can choose where on the screen you want to place your custom view by clicking Select Region.
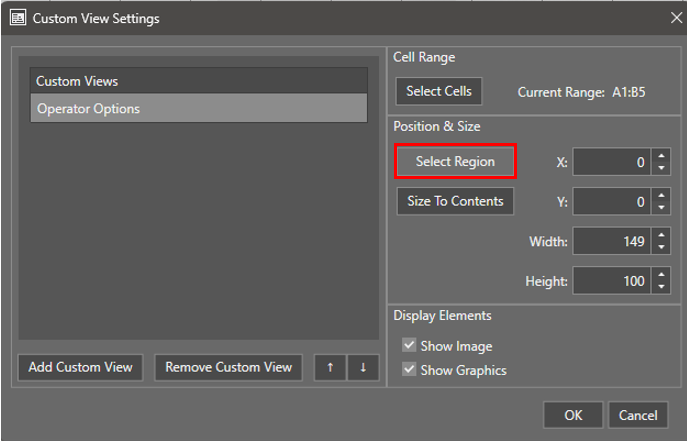
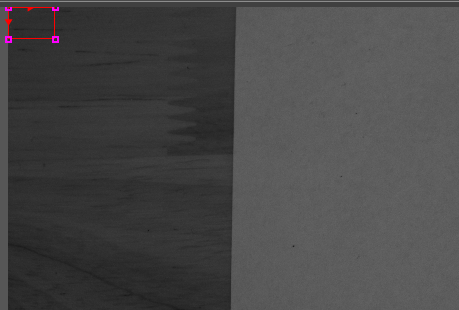
From here, you can move and resize your custom view size to your preference.
Press Enter when done. Note that the positional information on the right side will update based on the sizing you chose.

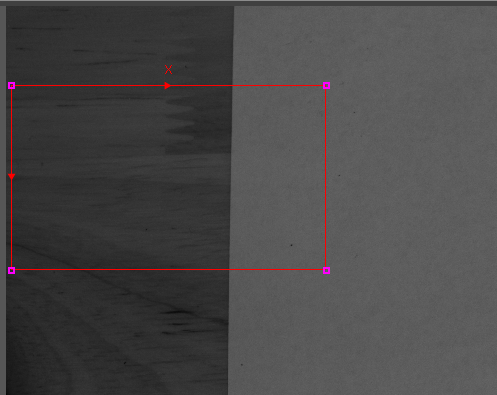
You can check the sizing by going to the WebHMI for the camera to check the layout.
Next, if you want to change if the image or graphics are displayed when the view is selected on the WebHMI, you can check or uncheck the boxes for display elements.
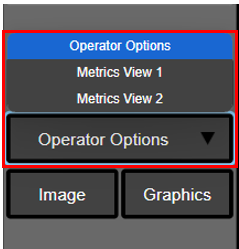
When selecting the view on the WebHMI, you can go to view options on the right side of the screen and select Custom View.
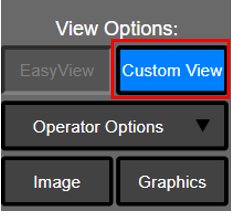
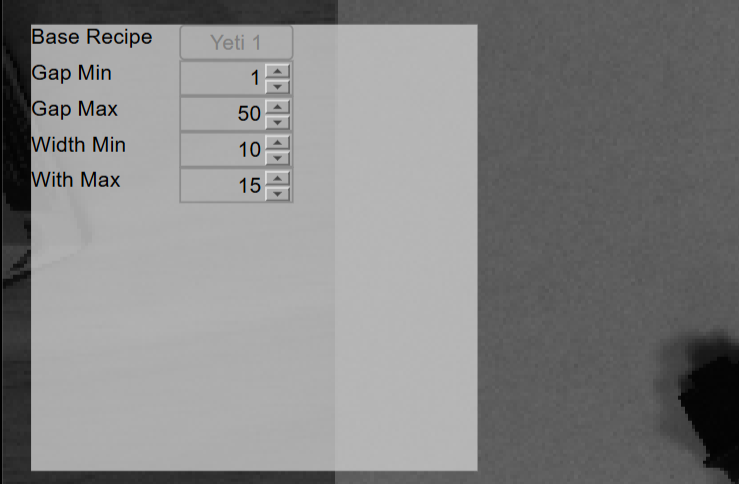
By default, the first view in the custom view list will be selected. As you create more views, you can select them by selecting them from the drop-down menu.