Cognex Support Hub
How to Make Cells in the Spreadsheet Available in the Web HMI using EasyView Tags
A step by step guide on how to use EasyView tags in the spreadsheet including screenshots with example
05/06/2025
A step by step guide on how to use EasyView tags in the spreadsheet including screenshots with example
This document is intended to show how a basic Web HMI can be built from the Spreadsheet environment. A step by step example follows below.
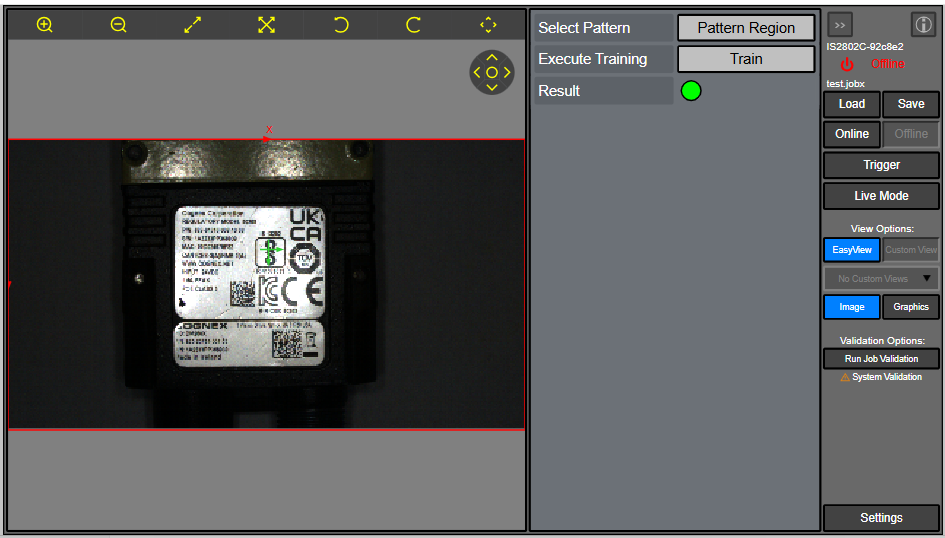
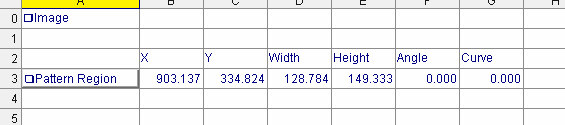
Start by creating an EditRegion function in the spreadsheet, Name the function "Pattern Region". This region will be the region for a TrainPatMaxRedLine function.
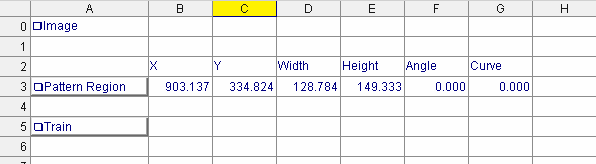
Create a Button, name the button "Train". This will be the Training event for the TrainPatMaxRedLine function.
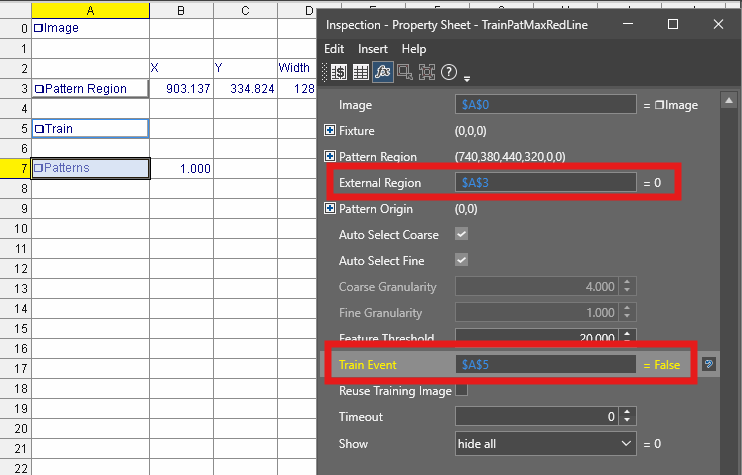
Create the TrainPatMaxRedLine function and link the External Region parameter to the EditRegion function and the Train Event to the Button.
Create a FindPatMaxRedLine tool that uses the pattern.
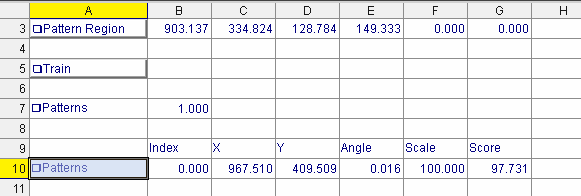
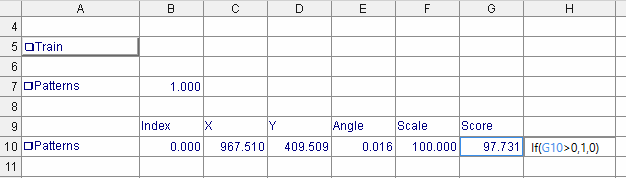
Add an If statement that returns 1 if Pattern was found and 0 if not.
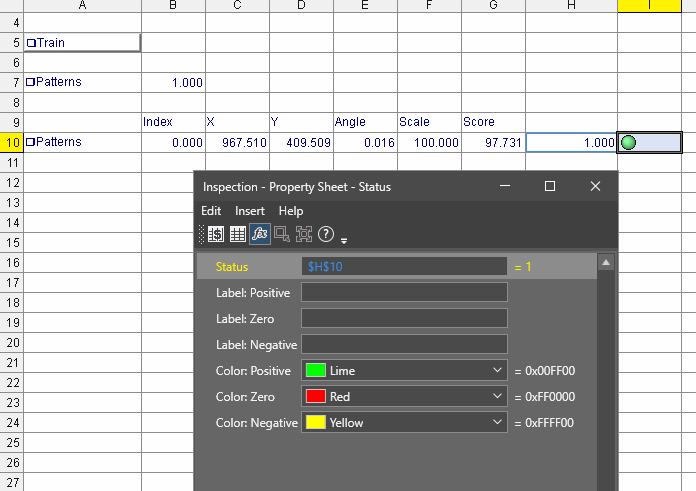
Add a Status function monitoring the returned value from the If statement. This will now show a Green light when a pattern is found, else it will be Red.
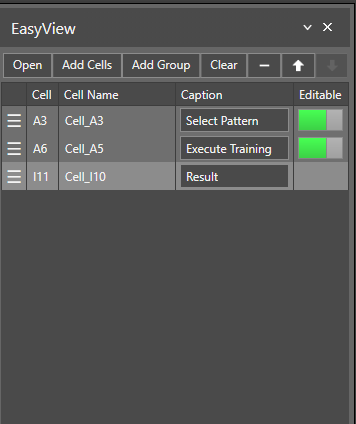
In order to make a cell visible in the Web HMI we need to Publish it to EasyView. This can be done by right clicking on the cell and choose Publish to EasyView.

Here you can change the order of the EasyView tags and also rename them. Captions will be shown in the Web HMI so change them to something that makes sense.
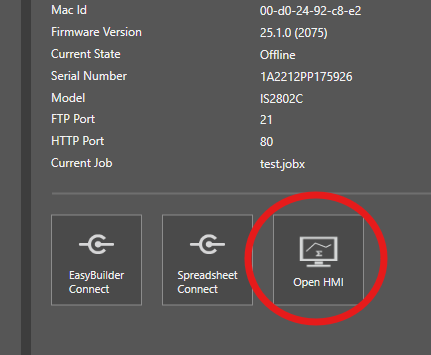
Close the connection to the device in In-Sight Vision Suite and connect using Open HMI instead.
The cells you have published using EasyView tags should now appear in the Web HMI.